Managers and admins can customize the item’s form of their workspaces.
-
Click on the 3 dots menu > Edit item’s form

-
Each new workspace has a default template. To delete fields and start from scratch, click on the bin icon

-
To add fields, drag and drop the field to your preferred location in the form.


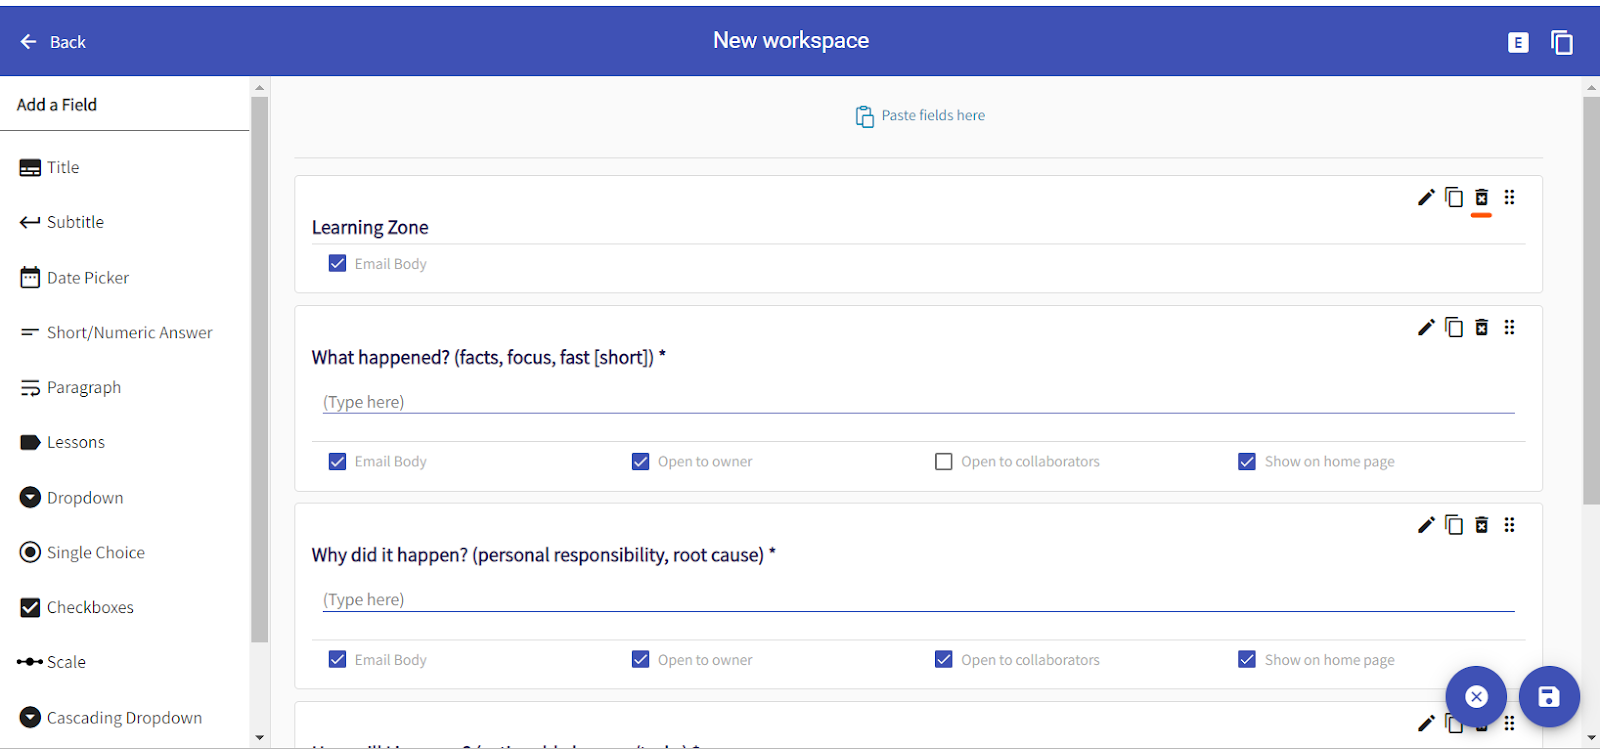

Below are described all the item fields and their settings (required, tooltip, goals, show on homepage, open to collaborators, etc.)
The item’s fields
-
Titles & Subtitles
The titles and subtitles fields are pre-defined fixed texts, that can be used both as titles or as a comment/ note inside the item.
Enter text and click Apply.

This is what it looks like on the item itself:

-
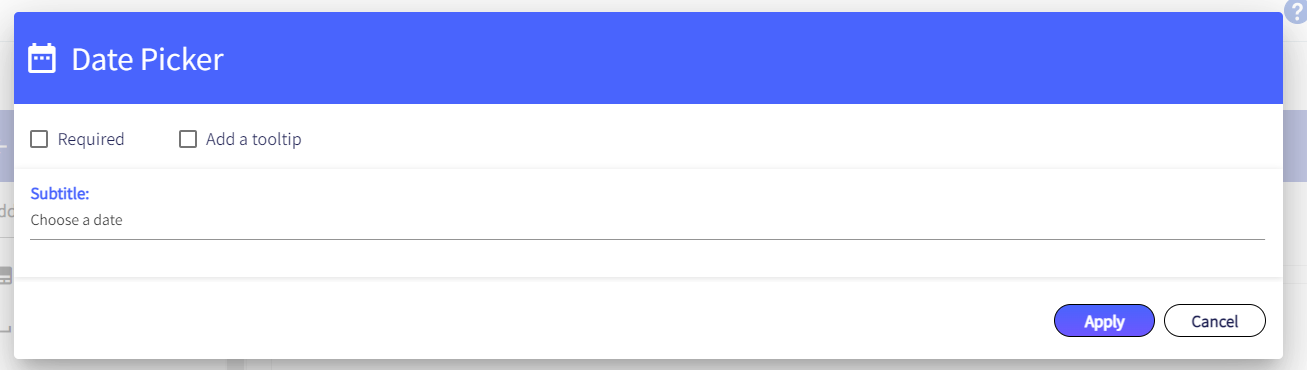
Date picker
Date pickers let users select a specific date.
Enter text and click Apply.


-
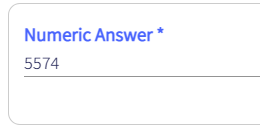
Short answer/ Numeric field
By default, this field is a Short answer field which is a free text component (up to 1000 characters). Enter a title and click Apply.


Use the checkbox Numbers only to change this field’s function to a numbers-only field. Enter a title and click Apply.


-
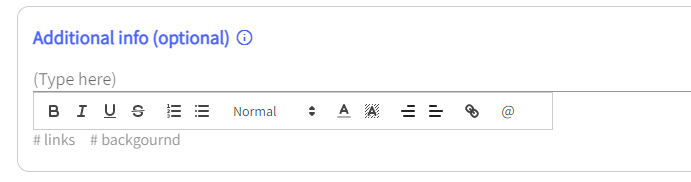
Paragraph
-
Lets the users write free text (no character limit).
-
You can also add tags in the designated area (optional). Tags provide details about the item and make it easy to locate related items that have the same tag.
When you add tags, make sure there is no space between the words, only underline.
For example: Team_Work, Team Work
 -
Enter a title and click Apply.


-
-
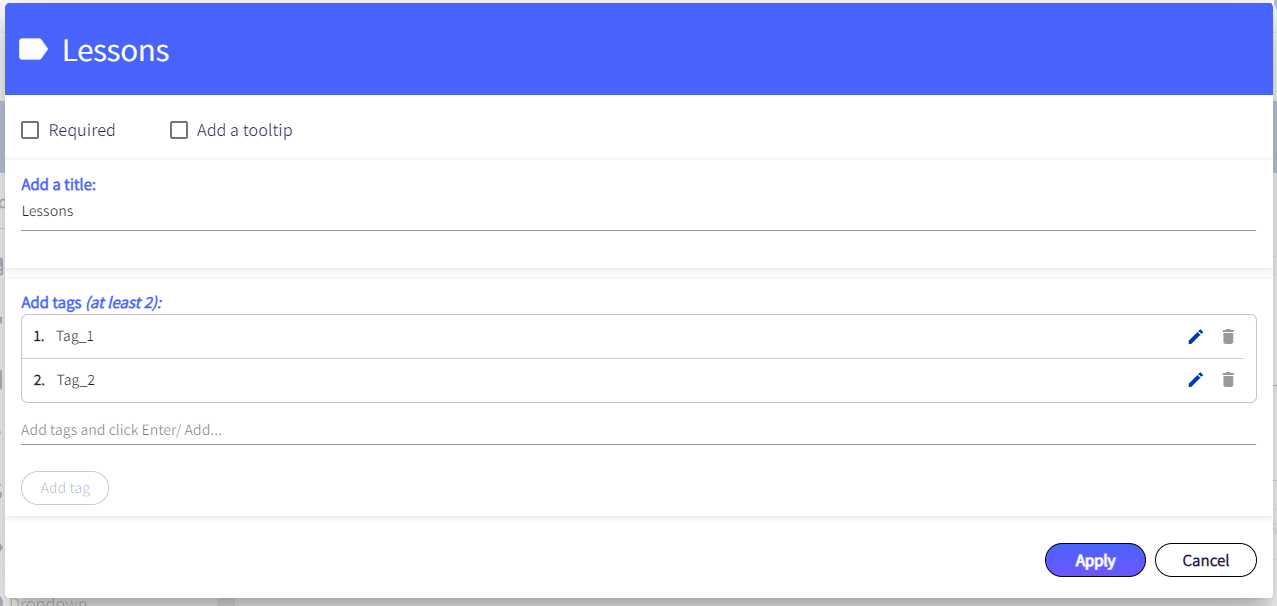
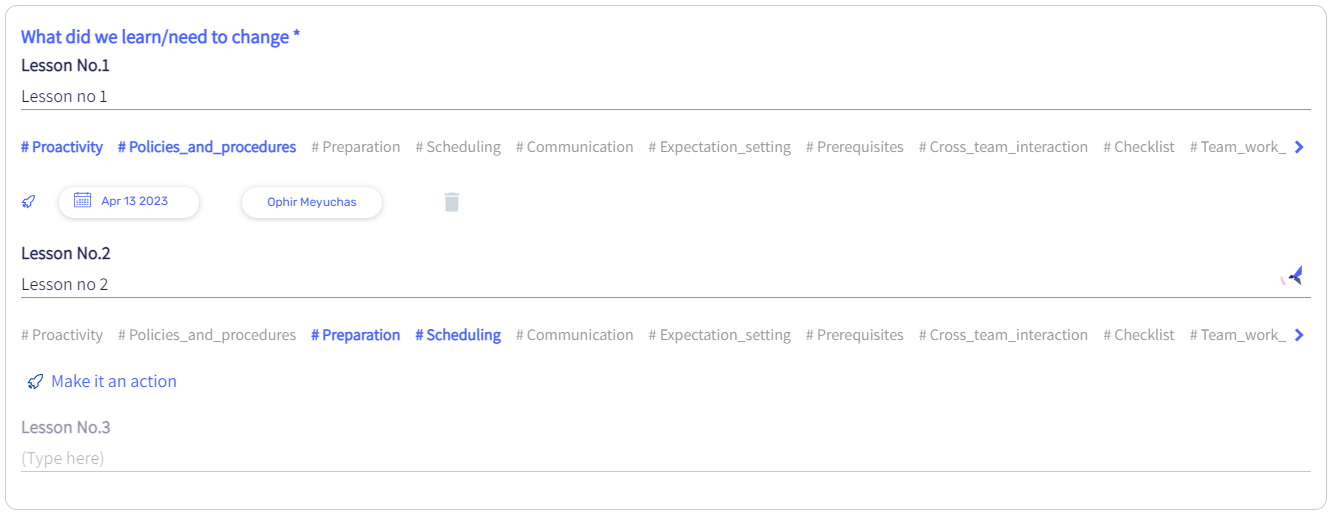
Lessons
-
Lets the users write their lessons and insights (free text, up to 500 characters)
-
Add tags in the designated area (required). Tags provide details about the item and make it easy to locate related items that have the same tag.
When you add tags, make sure there is no space between the words, only underline.
For example: Team_Work, Team Work -
Enter a title and click Apply.


-
-
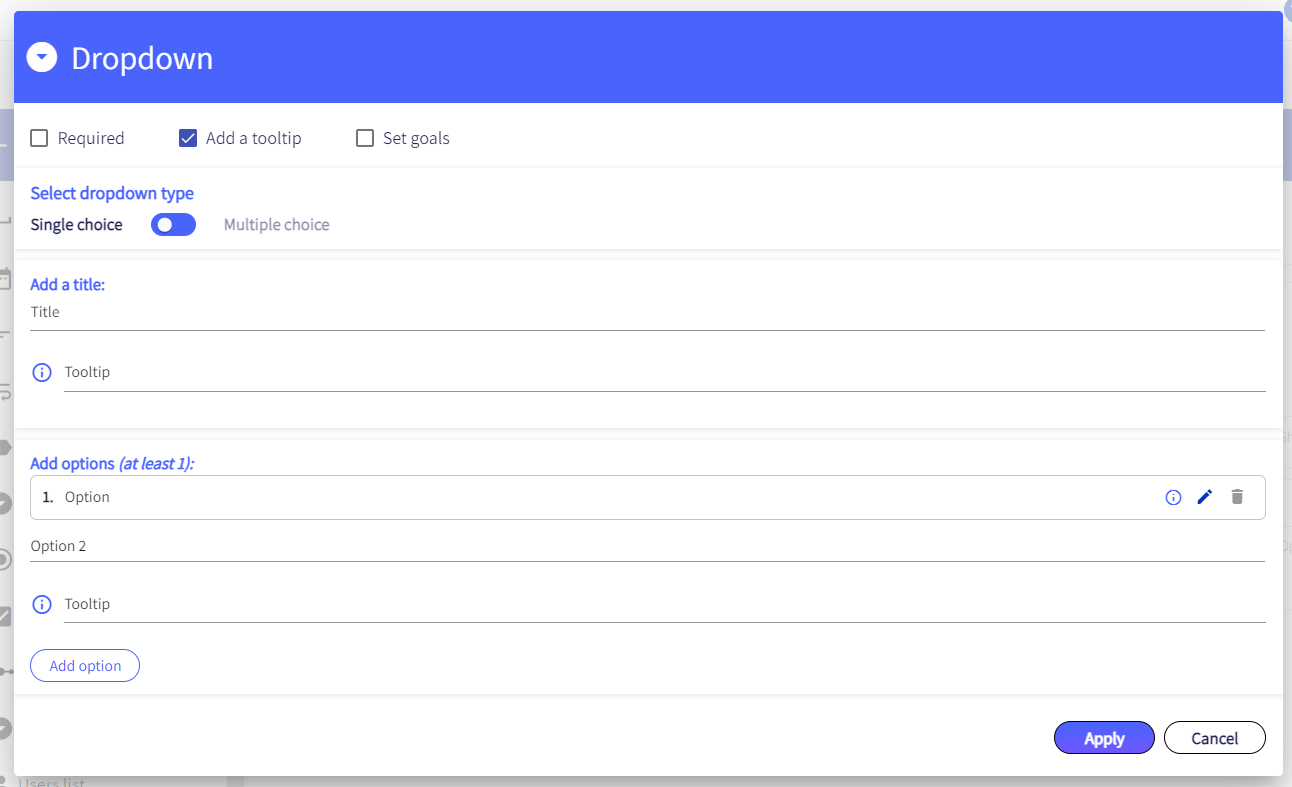
Dropdown
A field with a closed list of options.-
Single <> Multiple choice
-
You can select which type of dropdown you want: single-choice or multiple-choice.
You can switch between the two by using the toggle.

-
-
Enter a title, options, and click Apply
-
On the new item, users will be able to select only one option if it’s a single-choice dropdown:

-
Or they can choose a few options if it’s a multiple-choice dropdown.


-


-
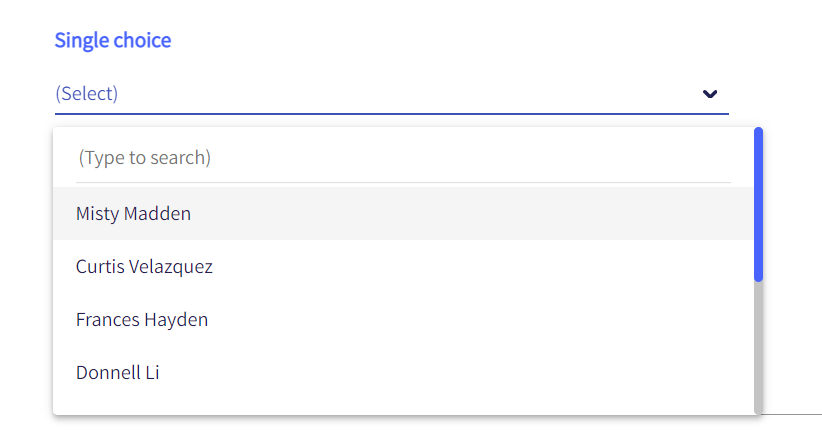
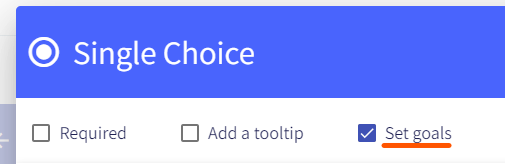
Single choice
Lets users choose between a set of options.
Users can only choose one option.
Enter a title, options, and click Apply.


-
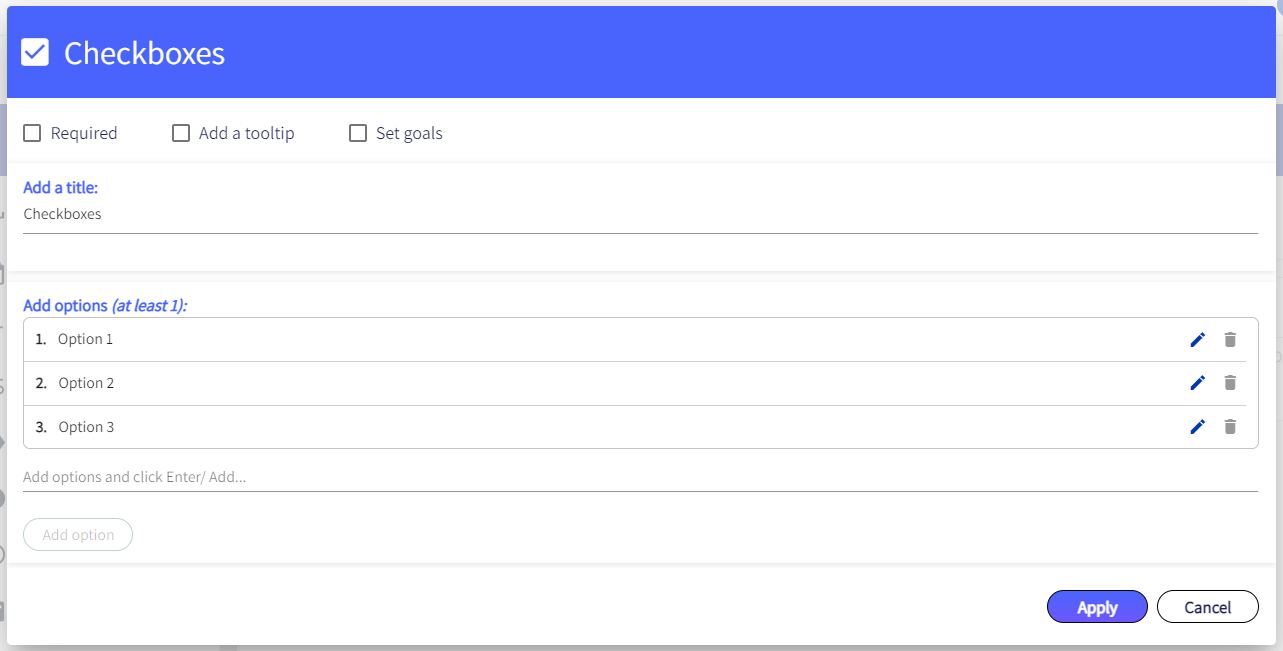
Checkboxes
Lets users choose between a set of options.
Users can choose more than one option. Enter a title, options, and click Apply


-
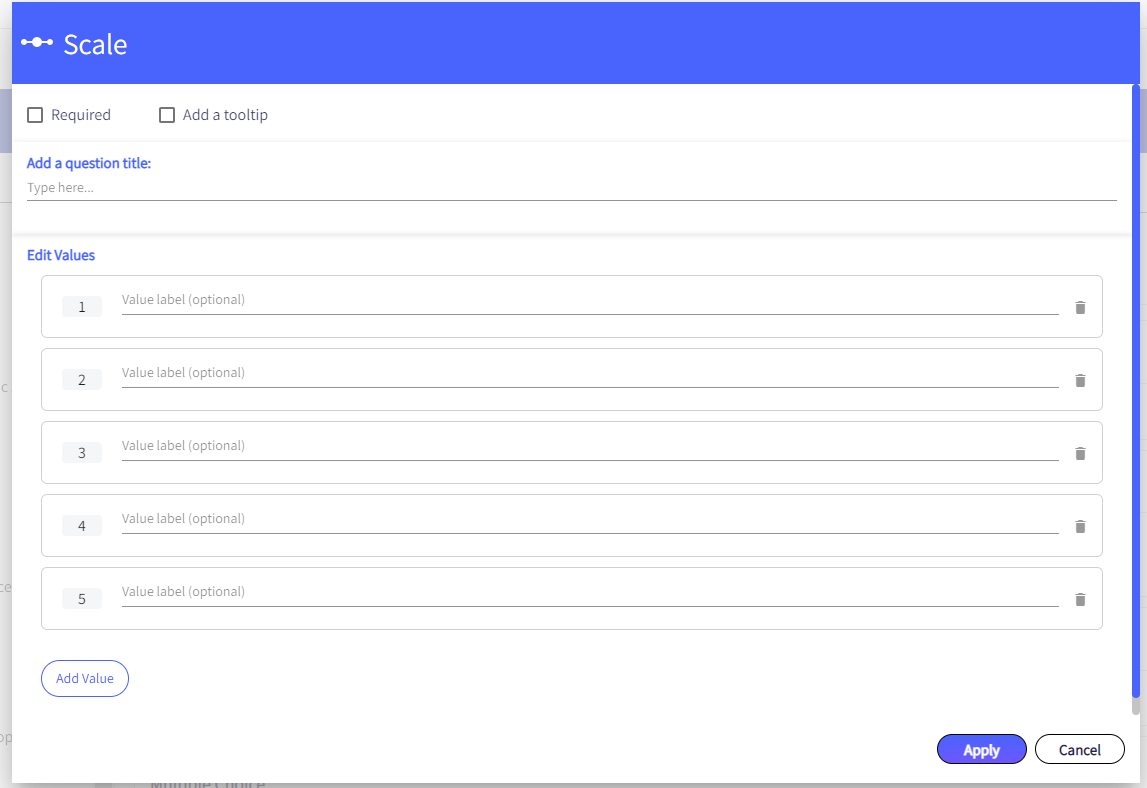
Scale
This is a closed-ended type of field, where you can choose an answer from a set of answer options—either numeric and/or verbal.-
In the popup that opens, there are 5 options by default

-
The maximum amount of options is 10 and the minimum is 2.
-
Each option has a numeric value (which is mandatory), which can be any numeric value (with up to 1 digit after the decimal point- x.x), and a textual value (which is optional).
-
2 options cannot have the same numeric value
-
Enter a title and click Apply
-
-
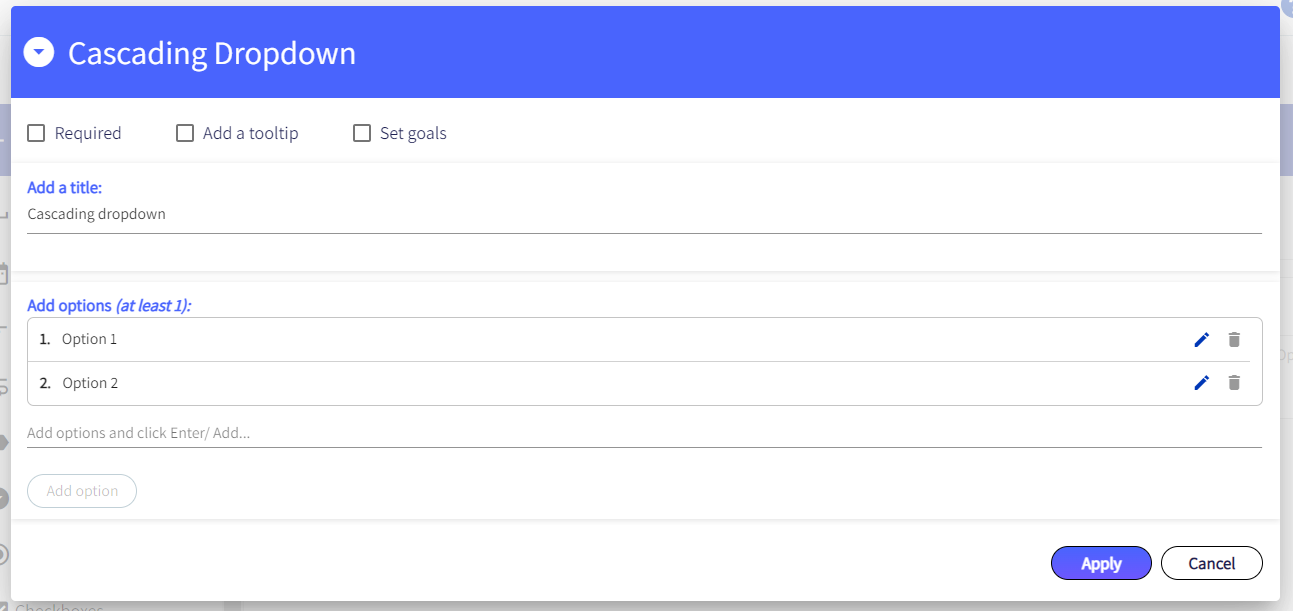
Cascading dropdown
A field with a closed list of options where selecting one of the options opens another set of fields. That means it is a dependent field, with hierarchies (there can be few levels of hierarchies).-
First, enter a title, options, and click Apply

-
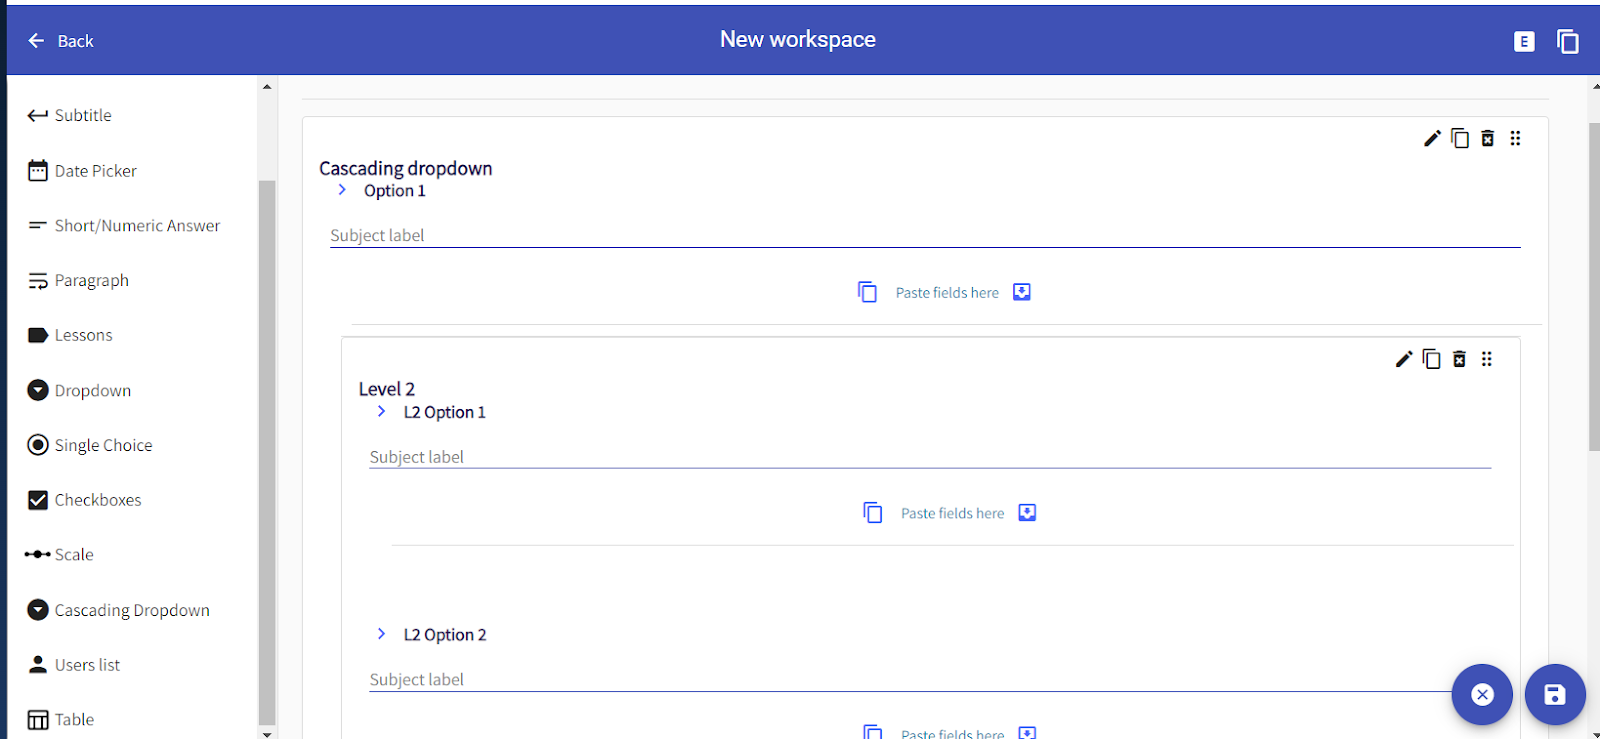
Then, drag & drop the fields into the options accordingly.

-
You can create a few levels of hierarchies by dragging additional cascading dropdown fields under each option.

-
This is what it looks like on the new item:


Example of 2 levels:

-
-
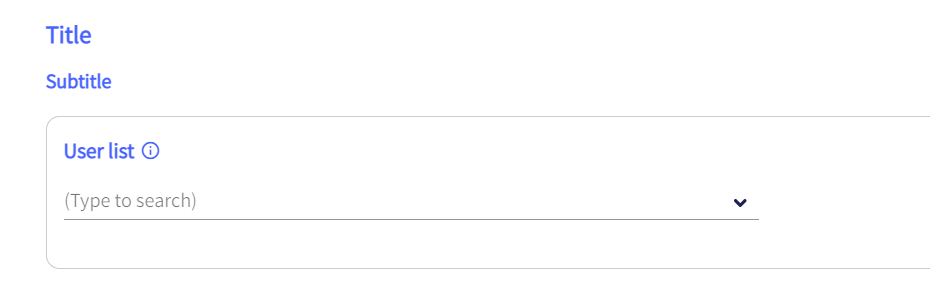
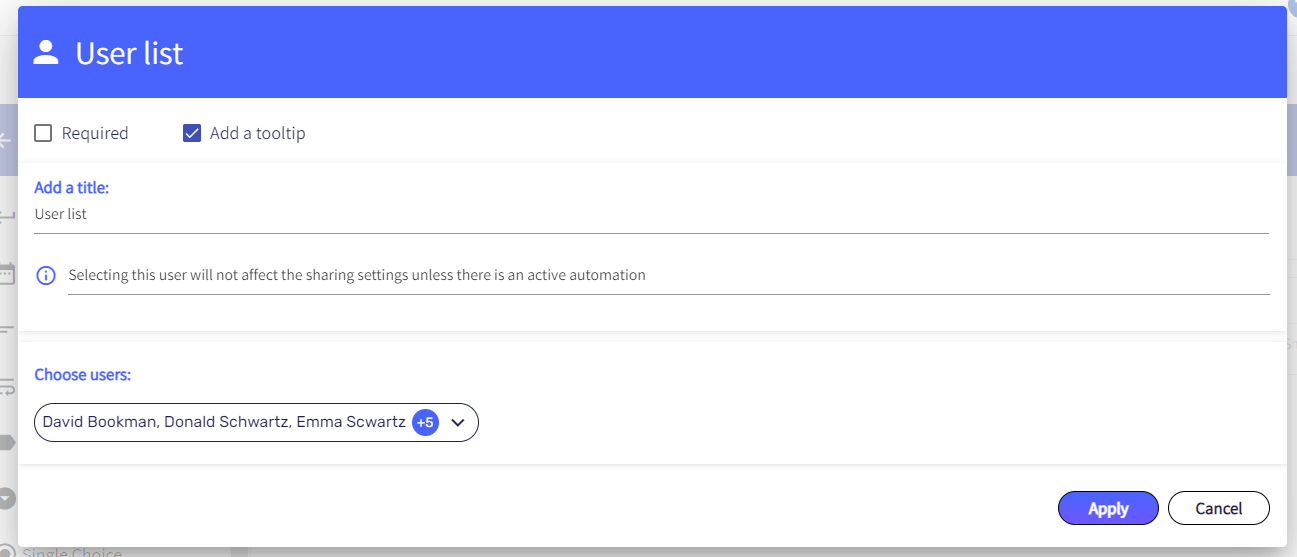
Users list
This is a dropdown field containing a user list that was pre-defined in the item form editor.-
Add a title

-
Select users


-
Click Apply
-
This is what it looks like on the new item:

-
-
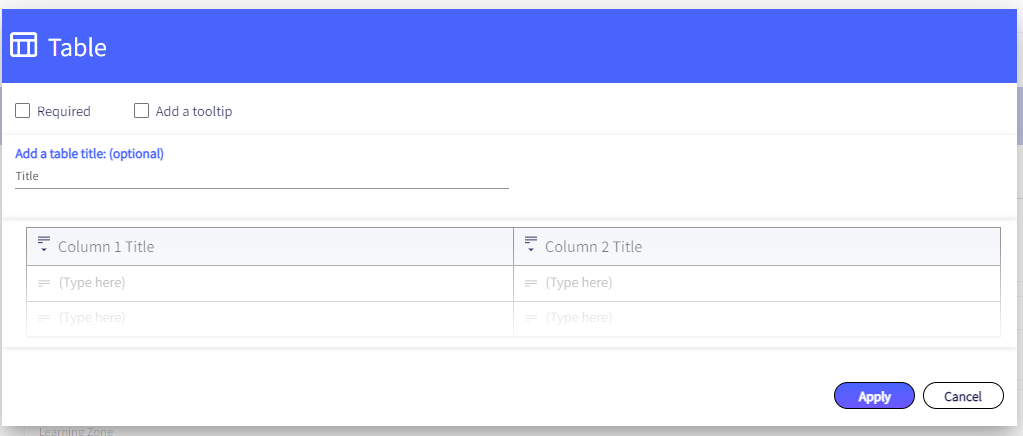
Table
The table field has between 2-5 fixed columns (set in advance), with free text and/or dropdown cells in each column (as set on the item form editor).-
Add a title

-
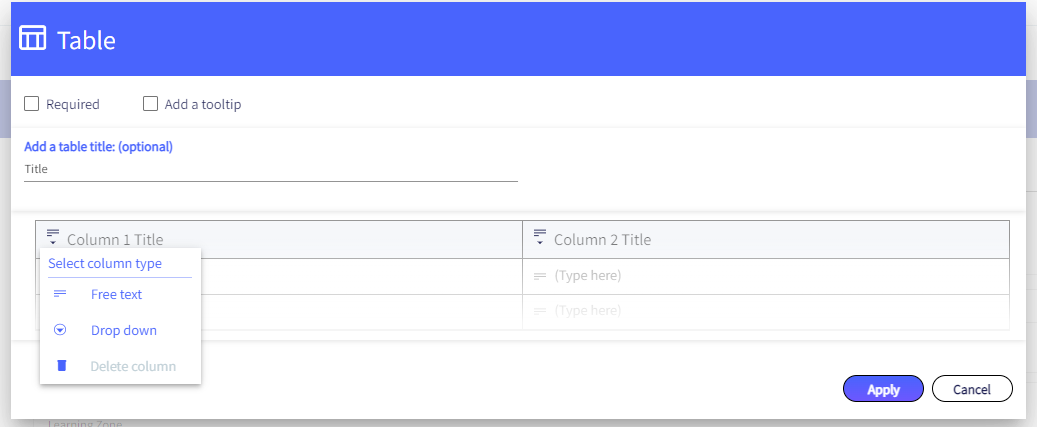
You can choose between 2 column types: free-text or dropdown

-
By choosing free-text, all the cells underneath that column will behave as free-text components
-
By choosing dropdown, all the cells underneath that column will contain a dropdown list. You can add the dropdown options after choosing the dropdown column type:

Note: you will not be able to add tooltips to the options -
You can see and edit the options you added by clicking on the arrow

-
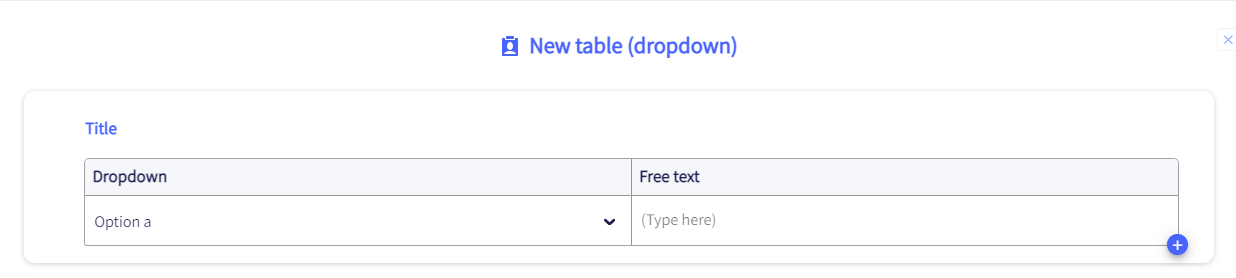
You can create a table that contains both free-text columns and dropdown columns
-
This is what it looks like on the new item:

-


![]() Don’t forget to click Save to save your changes
Don’t forget to click Save to save your changes
![]()
Item fields settings
-
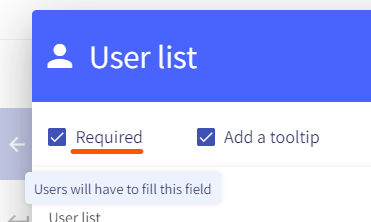
Set a required field
When you add new fields to your form, the fields are optional by default. Meaning users can submit the form without answering those fields. If you want the field to be required, you will need to set the field as required.-
Drag a new field or click Edit
-
Tick the checkbox of Required

-
Click Apply
-
-
Add Tooltips
Tooltips show additional information when you hover over the info icon

-
Drag a new field or click Edit
-
Tick the checkbox of Add a Tooltip. In closed-ended fields, you can also add tooltips to the options, and not only to the field’s title.

-
Add the tooltip’s text

-
Click Apply
-
-
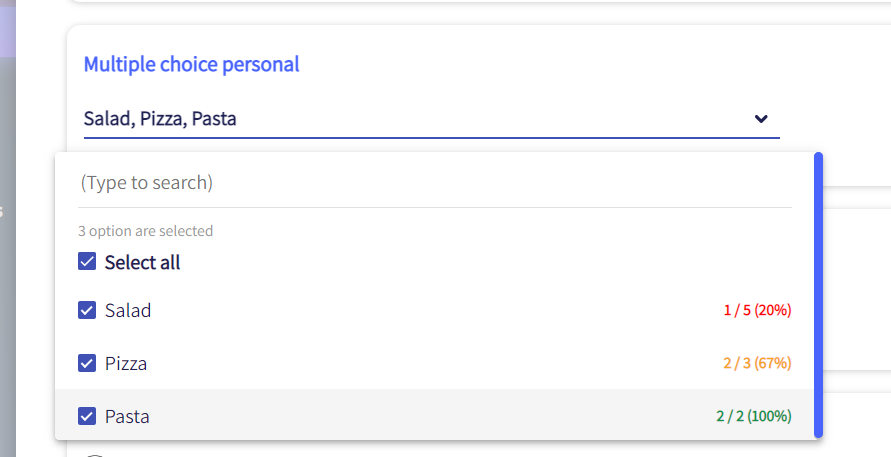
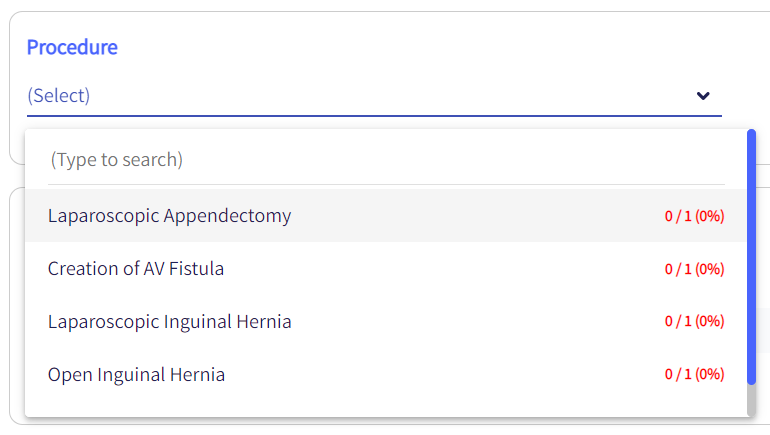
Set goals (Plan vs Actual)
The plan versus actual comparison is a tool that can be used to measure predictions against real-world results or to follow and supervise the progress of processes, tasks, training curriculums and etc.-
You can set goals for any closed-ended field’s options (Dropdown, Single choice, Checkboxes, Scale, Cascading dropdown, User list, Table dropdown fields)
-
Drag a new field or click Edit
-
Tick the checkbox of Set goals

-
Select which goal type you want: collective or personal.

-
A personal goal means that the goals are individual for each person. Each one has its own progress.
-
A Collective goal means that the goals are common for the entire workspace.
Each option selected will be counted for the entire workspace.
For example: as a sales team, we need to sell 10 products. Once a person creates a new item and reports to have sold 1 product, it will be counted as 1. When another teammate also reports it, it will be counted as 2, and so on.
-
-
Add goals for each option.
A goal can be between 0-99, meaning some options can be left without any goal.

-
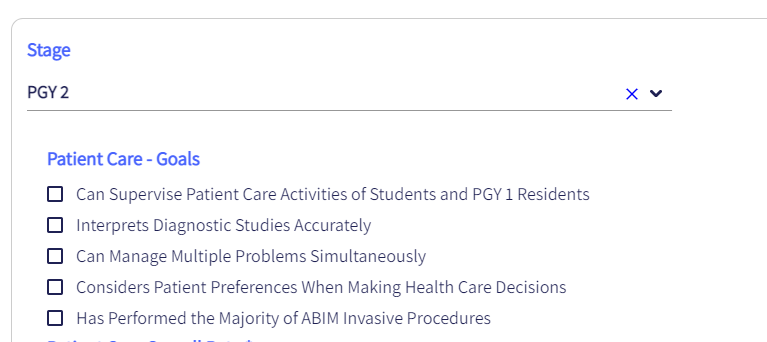
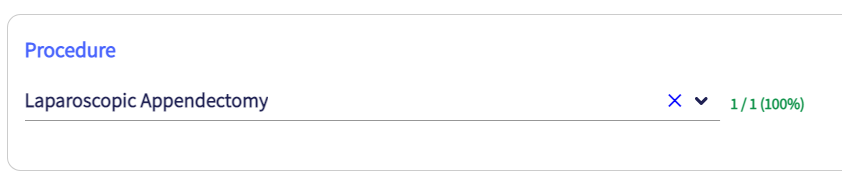
In the new item, users will have a counter (a progress indicator) for options with goals:


-
The progress will be displayed on the Analytics page as well

-
-
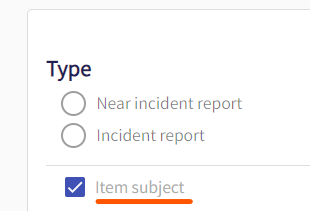
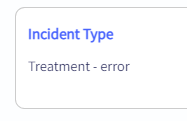
Item subject fields
Closed-ended & short answer fields’ answers can appear as the subject of the item.
After dragging the field, tick the checkbox of Item Subject


-
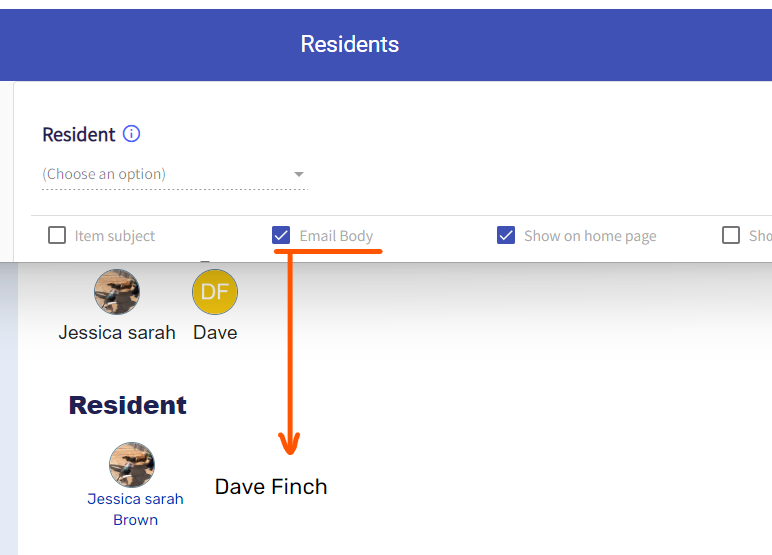
Email body
You can decide which fields will appear on the email notification for published items, and which won’t.
After dragging the field, tick the checkbox of Email Body

-
Show on the homepage
You can decide which fields will appear on the homepage preview, and which won’t.
After dragging the field, tick the checkbox of Show on homepage

-
Show on brief
Decide which fields will appear on the brief generator, available when clicking on Brief Me> Customized brief.
After dragging the field, tick the checkbox of Show on brief


-
Restricted fields
Some fields may be available only for owners/ collaborators (in collaborative items). You can decide which fields you want to be available for each role (owner/ collaborator).-
Tick the checkbox of Open to owner to let owners answer the field.
-
Tick the checkbox of Open to collaborators to let collaborators answer the field.


-


![]() Don’t forget to click Save to save your changes
Don’t forget to click Save to save your changes
![]()
Form Additional Settings
-
Copy and Paste Fields
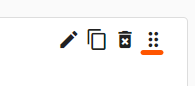
To copy fields, click on the copy icon.

Then, paste the fields by clicking on Paste fields here

The field will be pasted at the bottom. -
Move fields
To change the fields’ order, you can drag the fields and change their location.


-
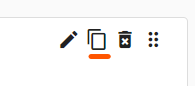
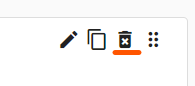
Delete fields
By clicking on the bin icon

-
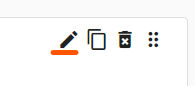
Edit fields
By clicking on the edit icon

-
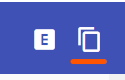
Copy and Paste forms
You can copy an entire form and paste it into another workspace’s form.
Click on the copy icon

Click Back

Edit another workspace’s form:
Click on the 3 dots menu > Edit item’s form
Click Paste

-
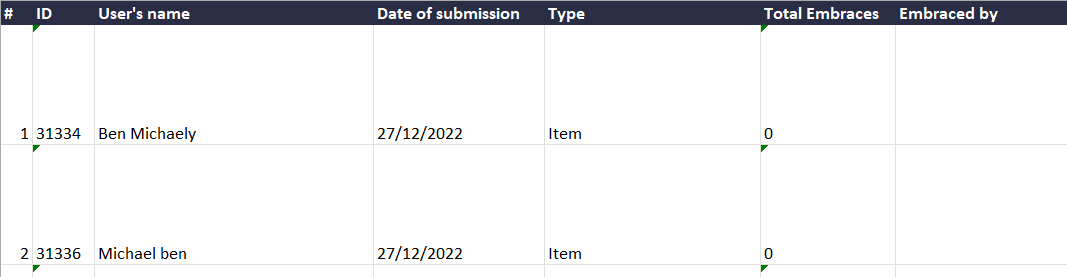
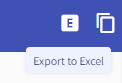
Export to Excel
Click on the Export to Excel icon on the top right

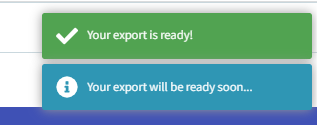
Your Excel export will be processed (this may take a while)

Notes:


-
form, the latest version is in the first tab

-
The export contains all the items of the workspace.
-
Each row is an item. If the item is collaborative, then the collaborators’ data will appear below the owner’s data, with the label “Collaborator” under the “Type” column

-
Each column header is a field/ information.

-
Each tab is a version of the item form, the latest version is in the first tab