An item is a form-like screen, based on your customized workspace’s form (by the workspace’s admin/ manager) which you can fill accordingly. That means that each workspace might have a different item layout- the content is up to you and depends on your workspace’s workflows. Each item is linked to one workspace, but you can collaborate with other people from different workspaces or share it with other workspaces.
How to create a new item
-
Click on the + (plus) icon

-
Click on the “New Item” button

-
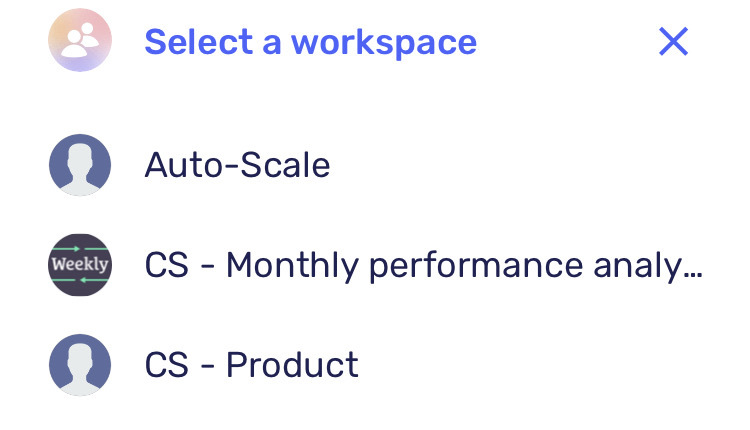
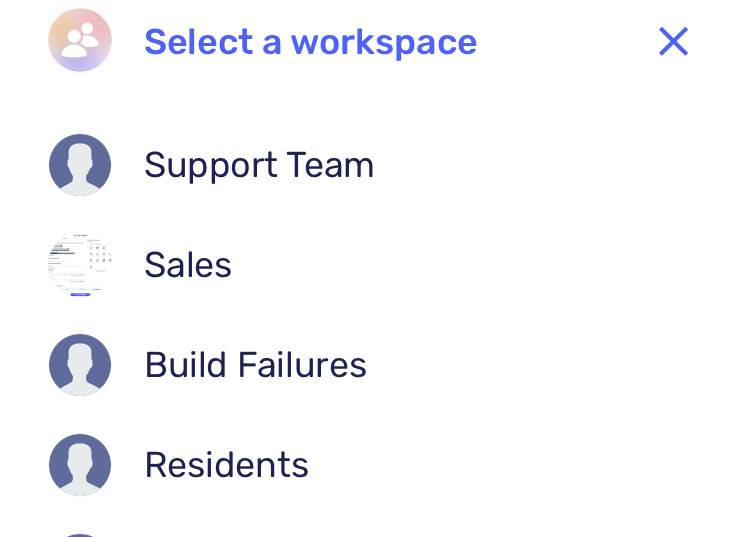
Select a workspace

*The list of workspaces is sorted, by default, A-Z. Once you start creating items, they will be reorganized according to your recently used workspaces.

*If you belong to only one workspace, the item’s form will automatically open

-
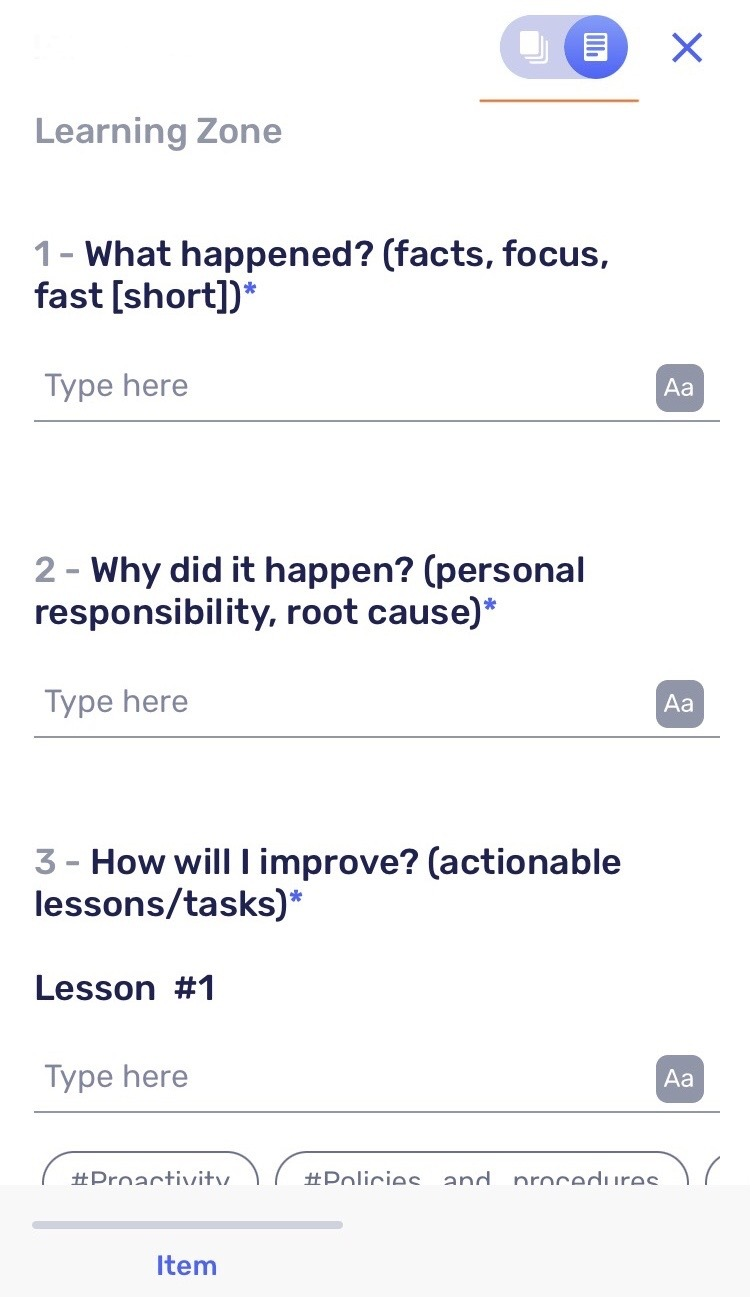
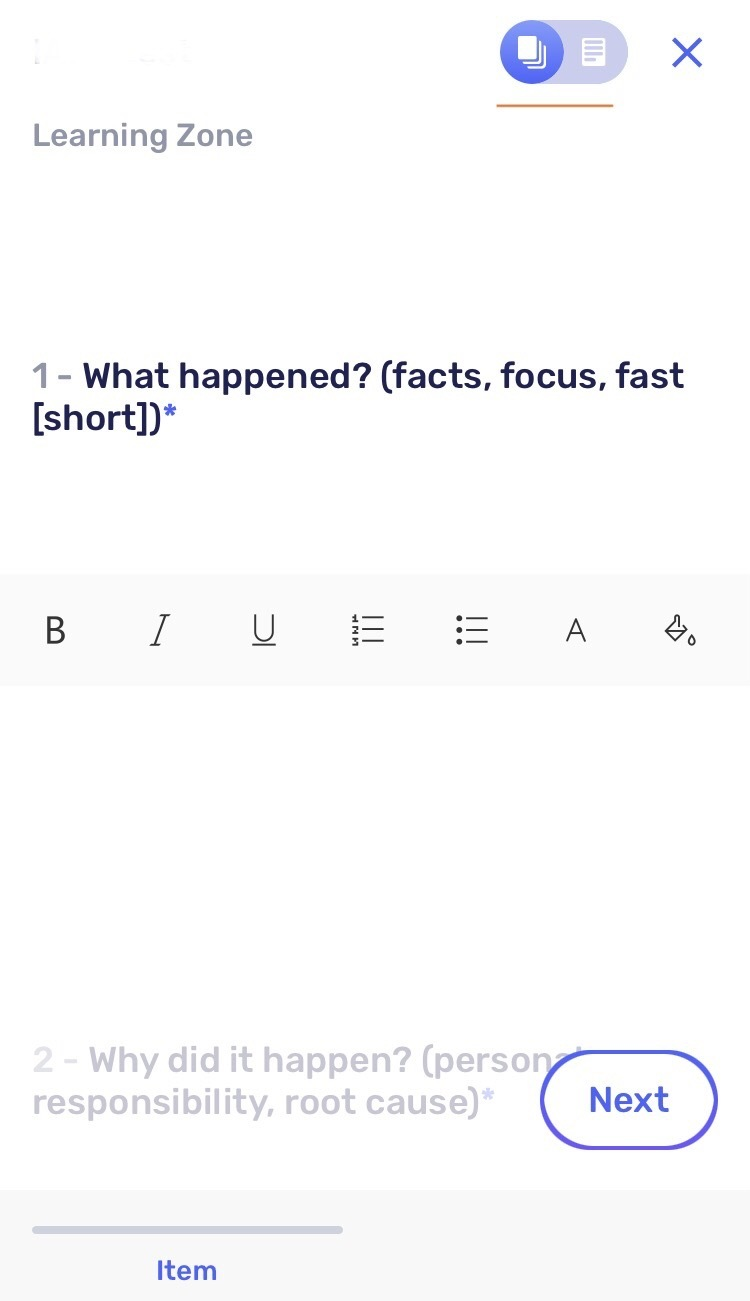
Select your preferred view mode:
-
Scroll view – all the fields are displayed on the same page, as you scroll down

-
Skip view – each field is displayed separately on its own page, click next to see the next field

-
-
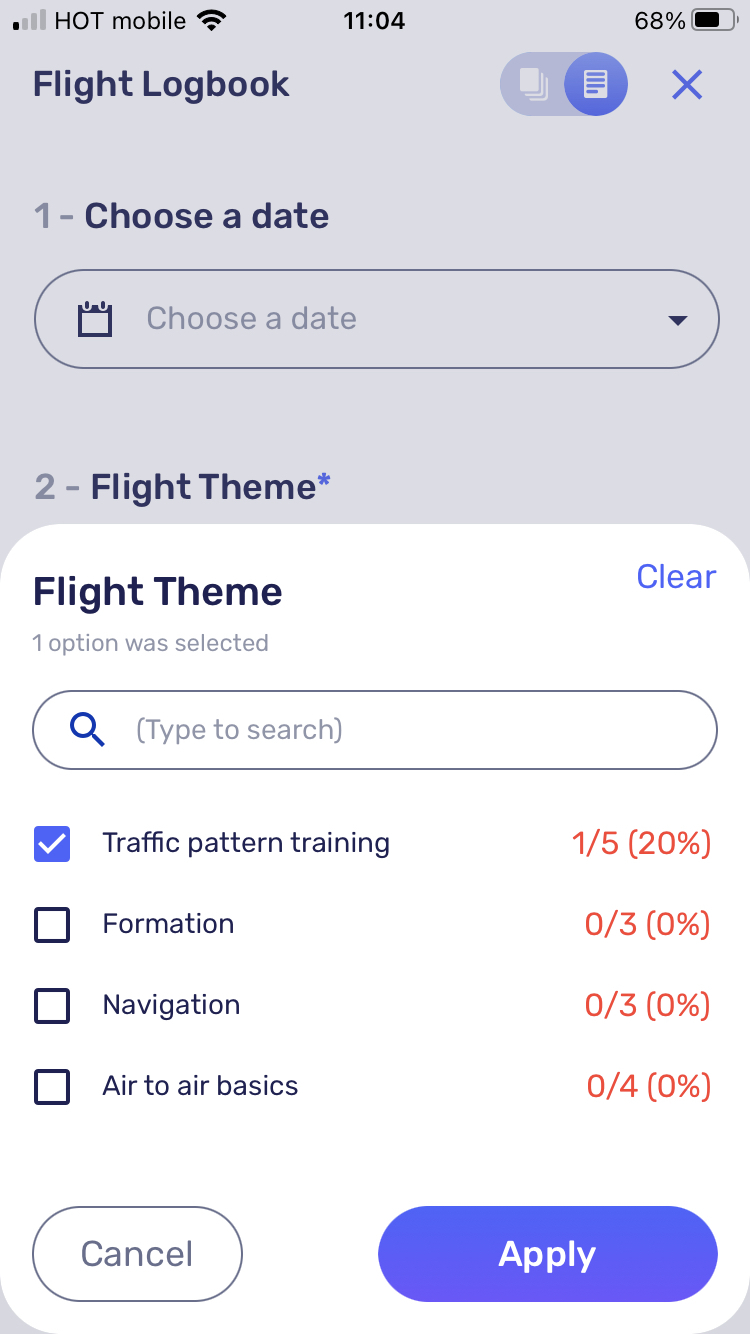
Fill in the form, and keep in mind that some fields might be required.

Additionally, some fields may:-
Have tooltips

-
Have a progress indicator (closed-ended fields)

-
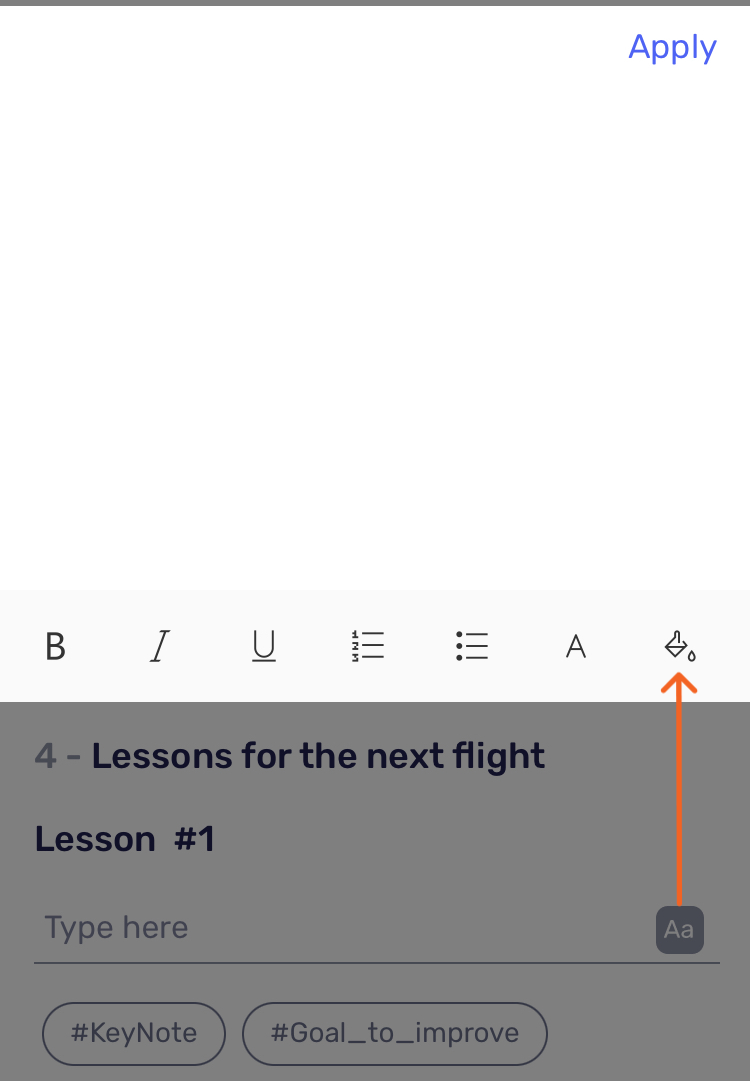
Have a rich text editor (free text fields)

-
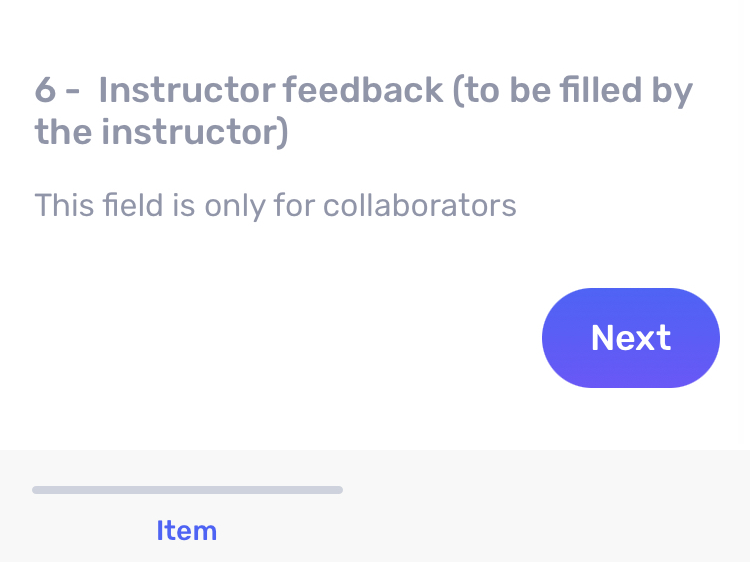
Be restricted (collaboration only)

-


To learn more about the item fields, see our guide.
![]() When you write items, a local draft is automatically saved to your device every few seconds.
When you write items, a local draft is automatically saved to your device every few seconds.
![]() You may also save your item as a draft and continue filling it later on by:
You may also save your item as a draft and continue filling it later on by:
-
Clicking on the X button on the top
-
Selecting “Save as draft”:

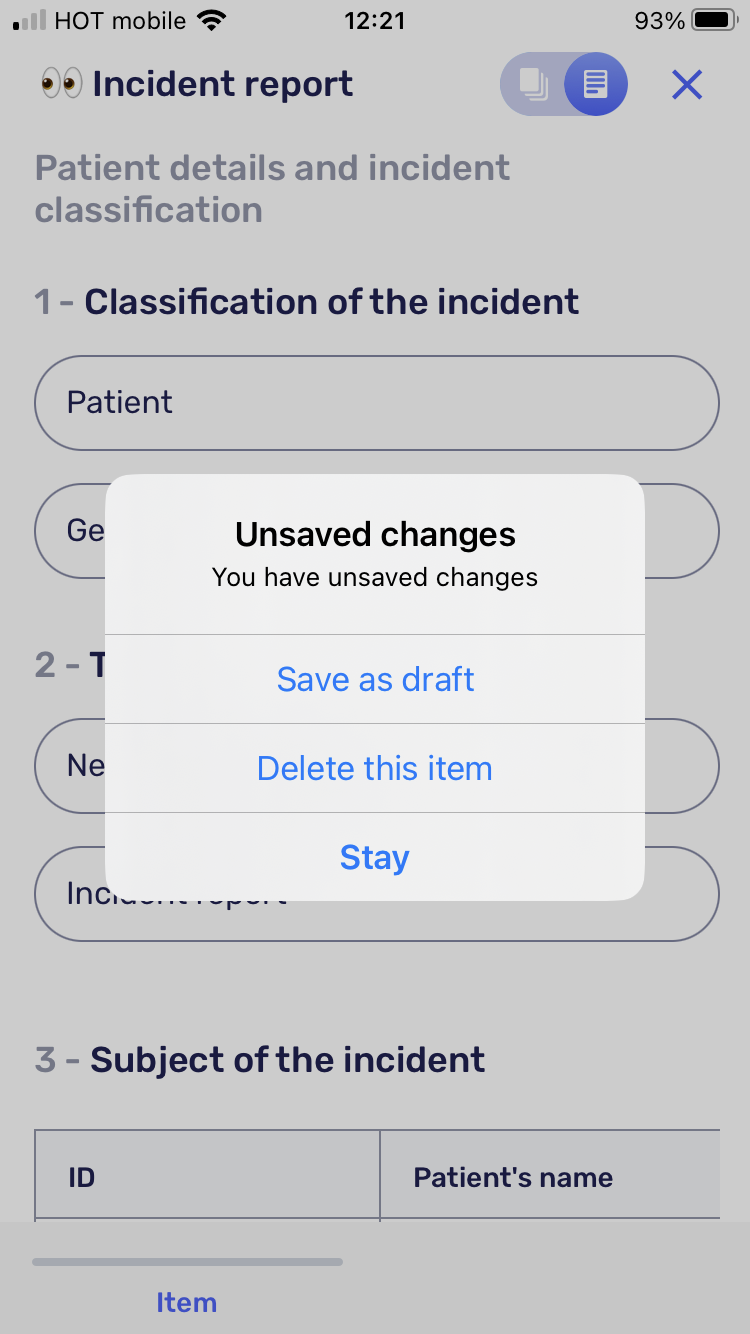
![]() Note that while filling in the item, you may also delete it anytime, but be sure that this is what you want to do: we can’t restore items after being deleted.
Note that while filling in the item, you may also delete it anytime, but be sure that this is what you want to do: we can’t restore items after being deleted.
-
Click next and you’ll be followed to the last page

-
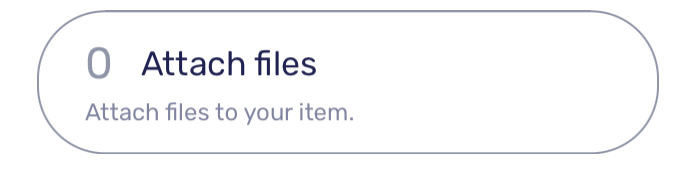
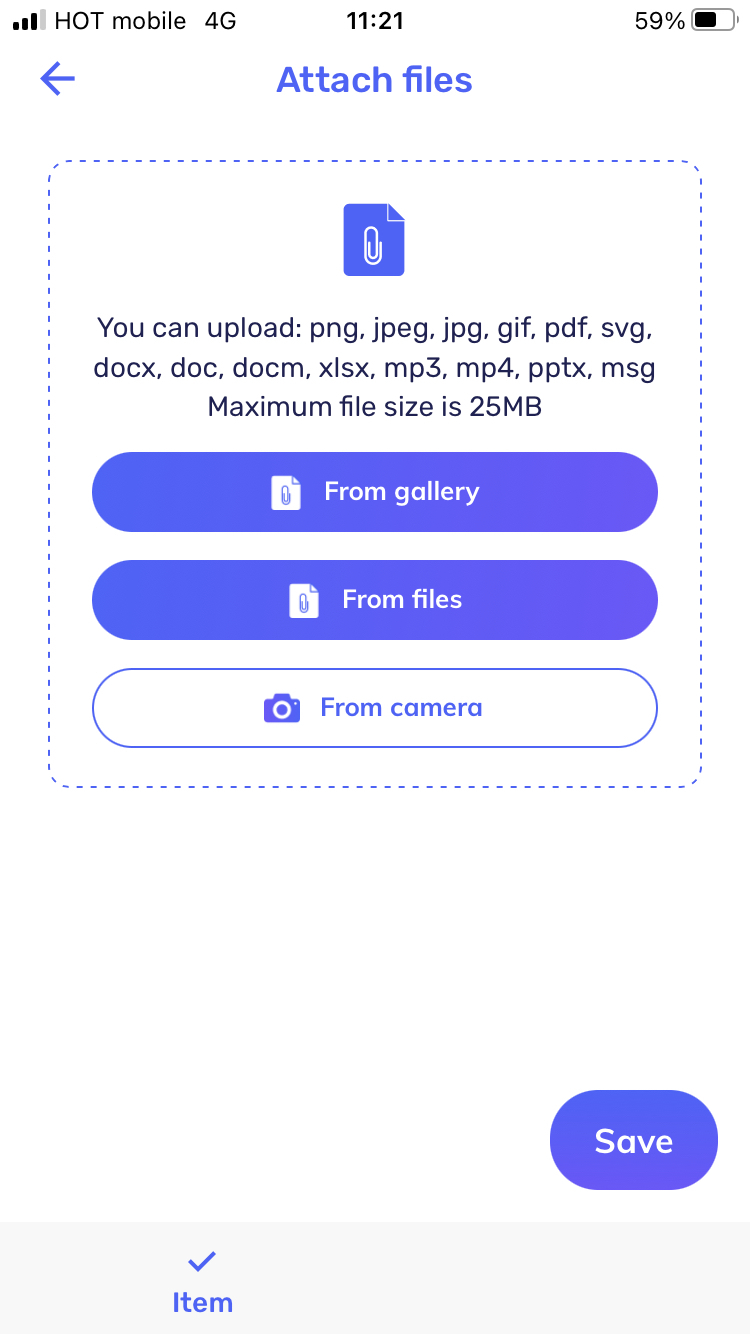
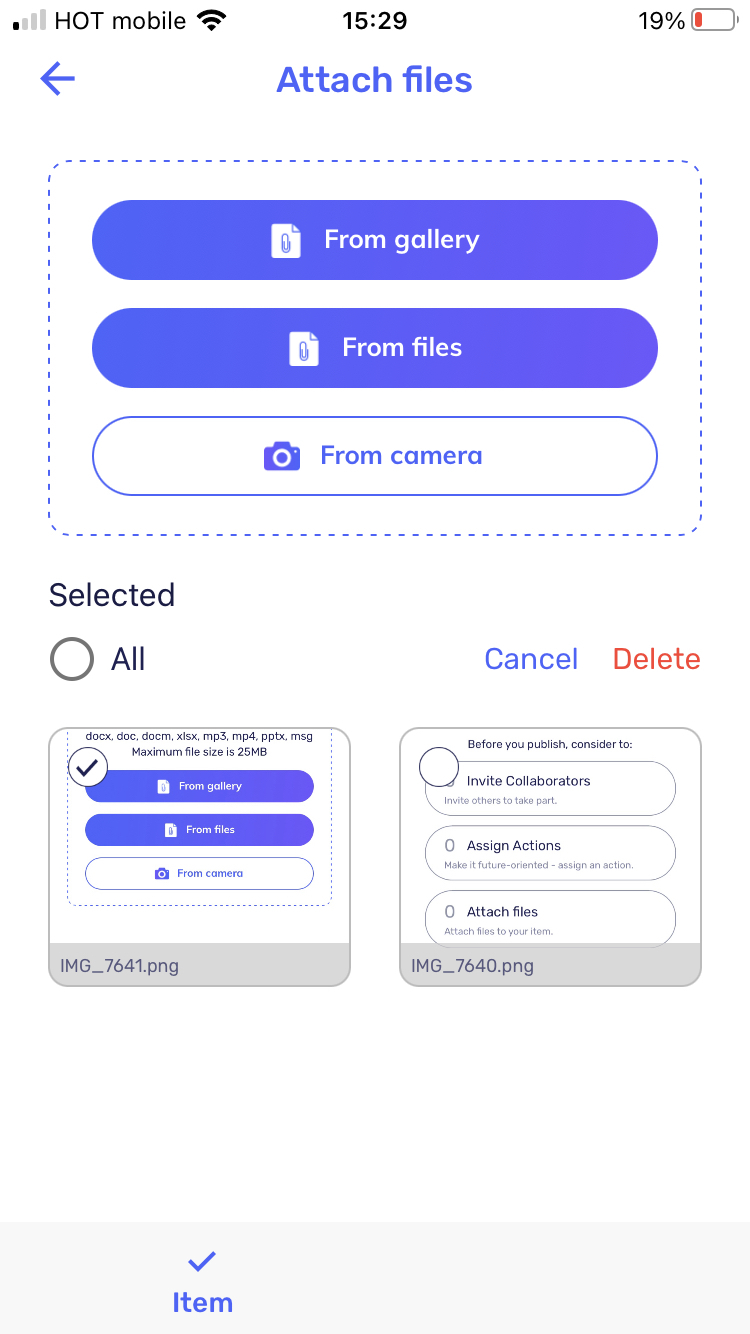
If your company/ organization enabled it, you can attach files to your item.
Upload photos and videos directly from your camera, select photos and videos from your gallery, or browse other files from your device’s files.
*You can upload: png, jpeg, jpg, gif, pdf, svg, docx, doc, docm, xlsx, mp3, mp4, pptx, msg. The maximum file size (per file) is 25MB.
-
Click on Attach files

-
Select: from gallery/ files/ camera

-
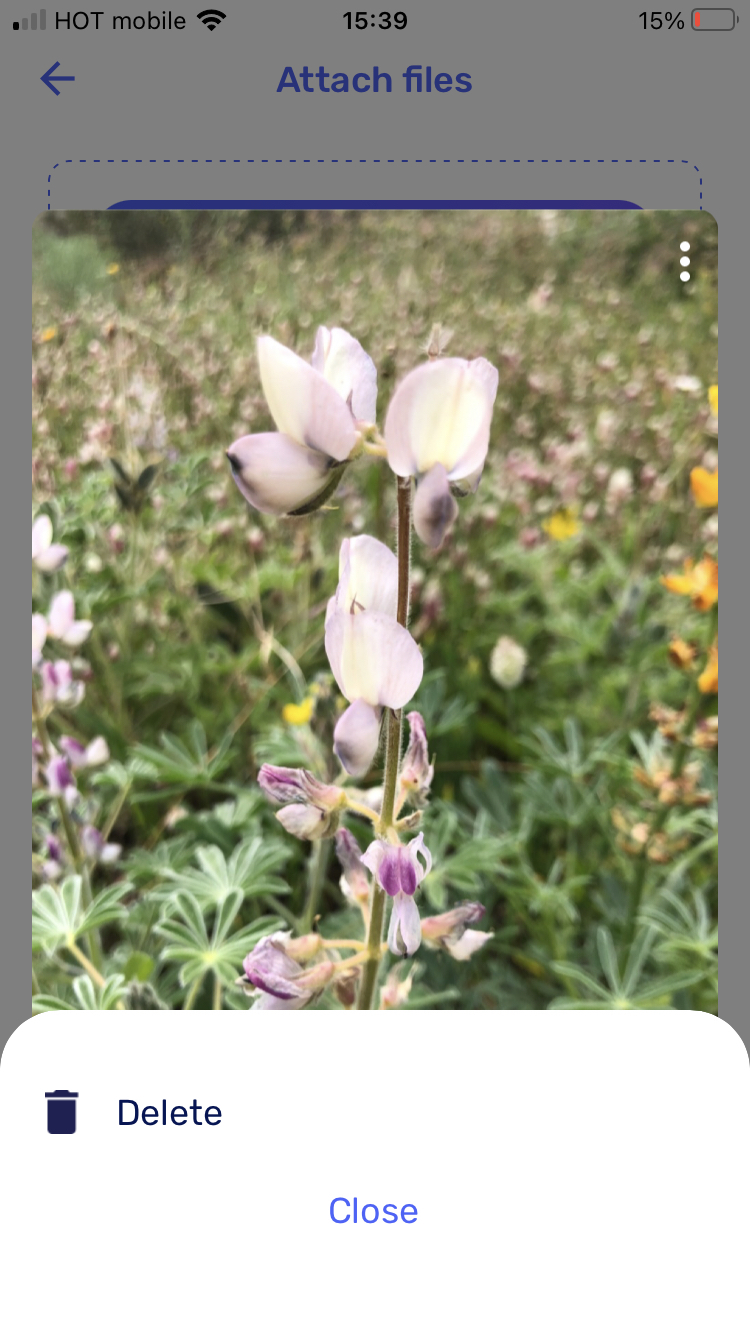
Select one/ multiple files (The files will be saved automatically after uploading)

-
After you uploaded the files, you can click on them to view them.

-
Remove files:
-
By clicking again on the file, after you clicked to review it, you will be able to delete the file

-
After clicking on the file to review it, click on the 3 dots menu> Delete
-
By long-clicking on one of the files:

-
-
The files will be saved in draft mode, if you select to save your item as a draft


-
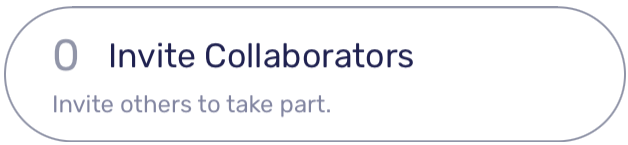
You can invite people to collaborate with you on this item. The collaborators will be able to edit the item and add content to it. To learn more about collaboration, see our guide.

-
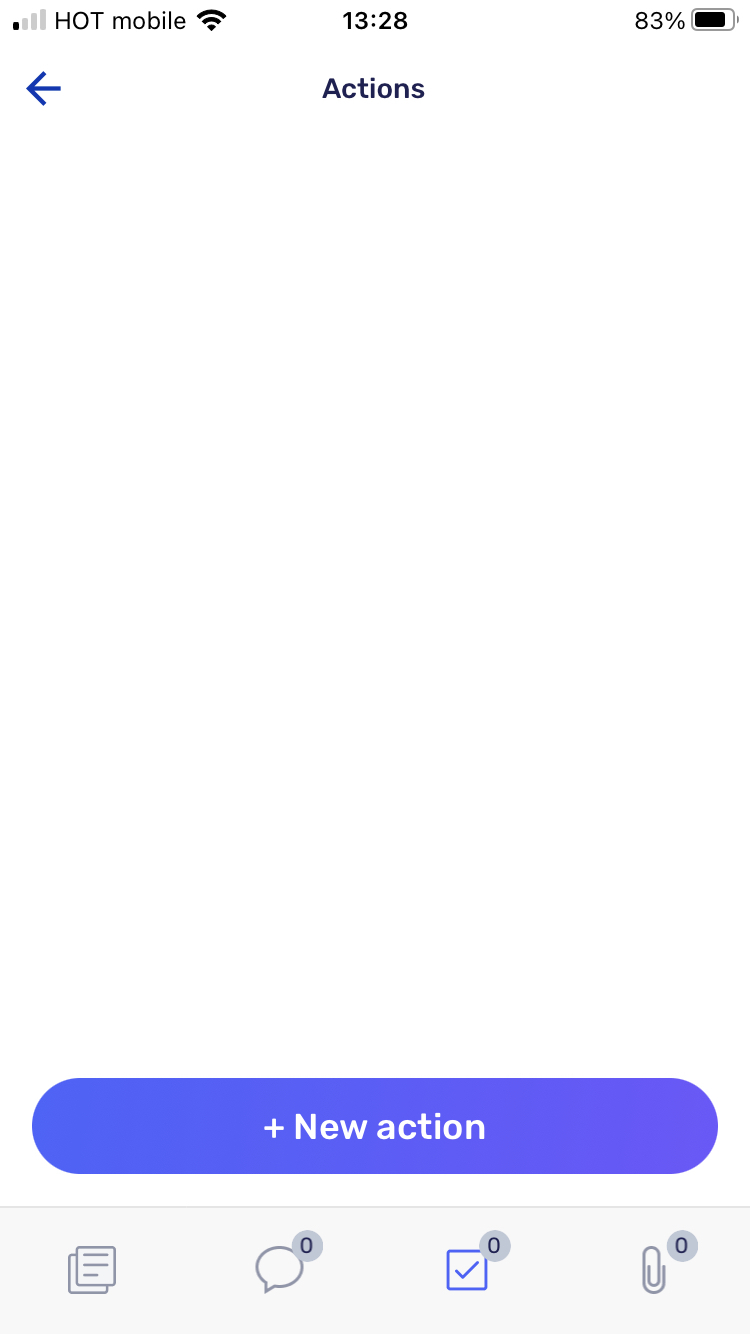
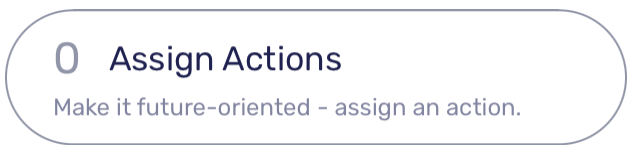
You can add actions to your item. The actions are tasks that are related to your item and will be linked to it.
-
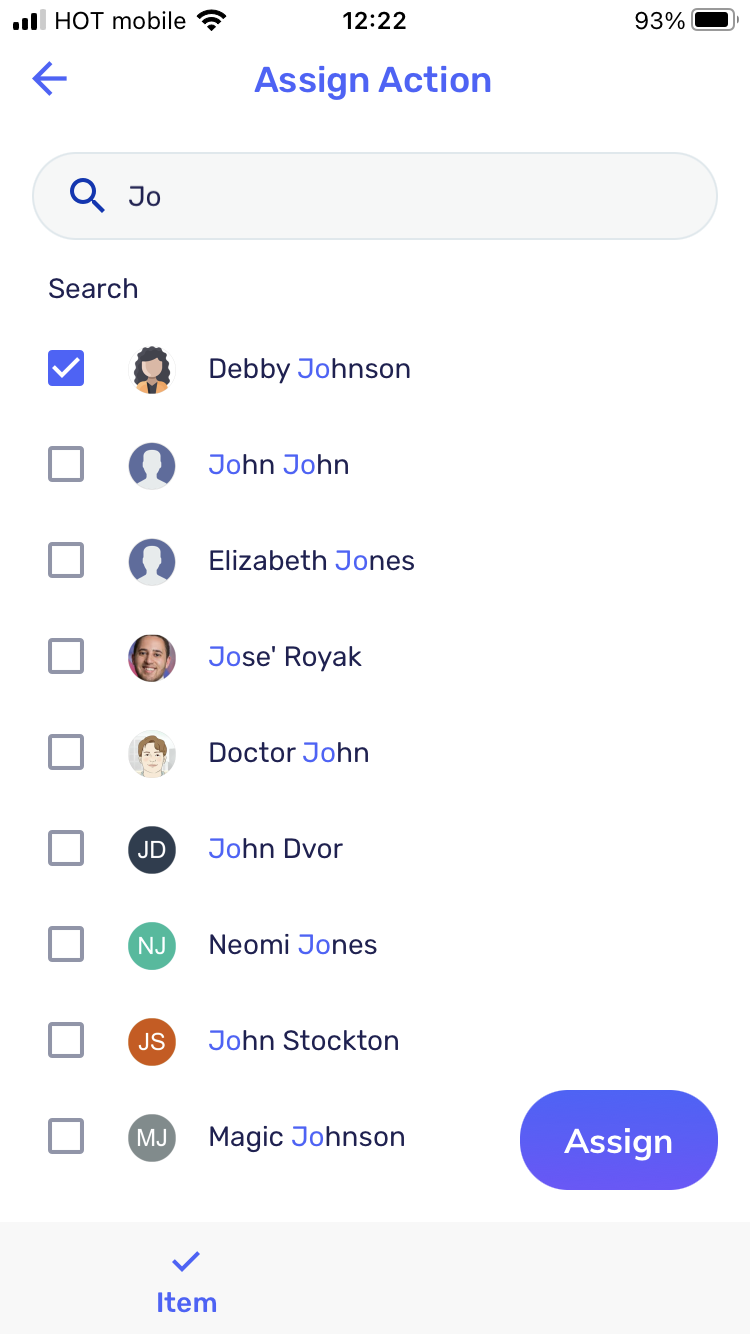
Click Assign actions

-
Select the assignee, due date, and description


-
Click Assign

-
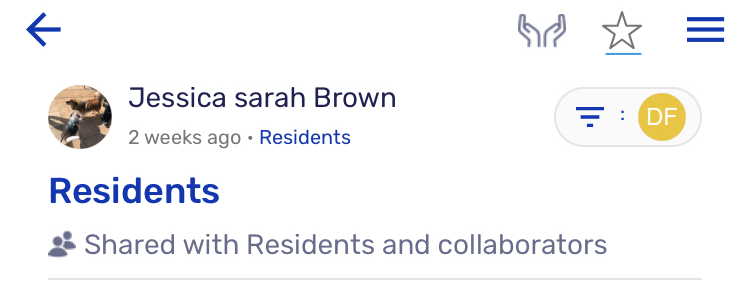
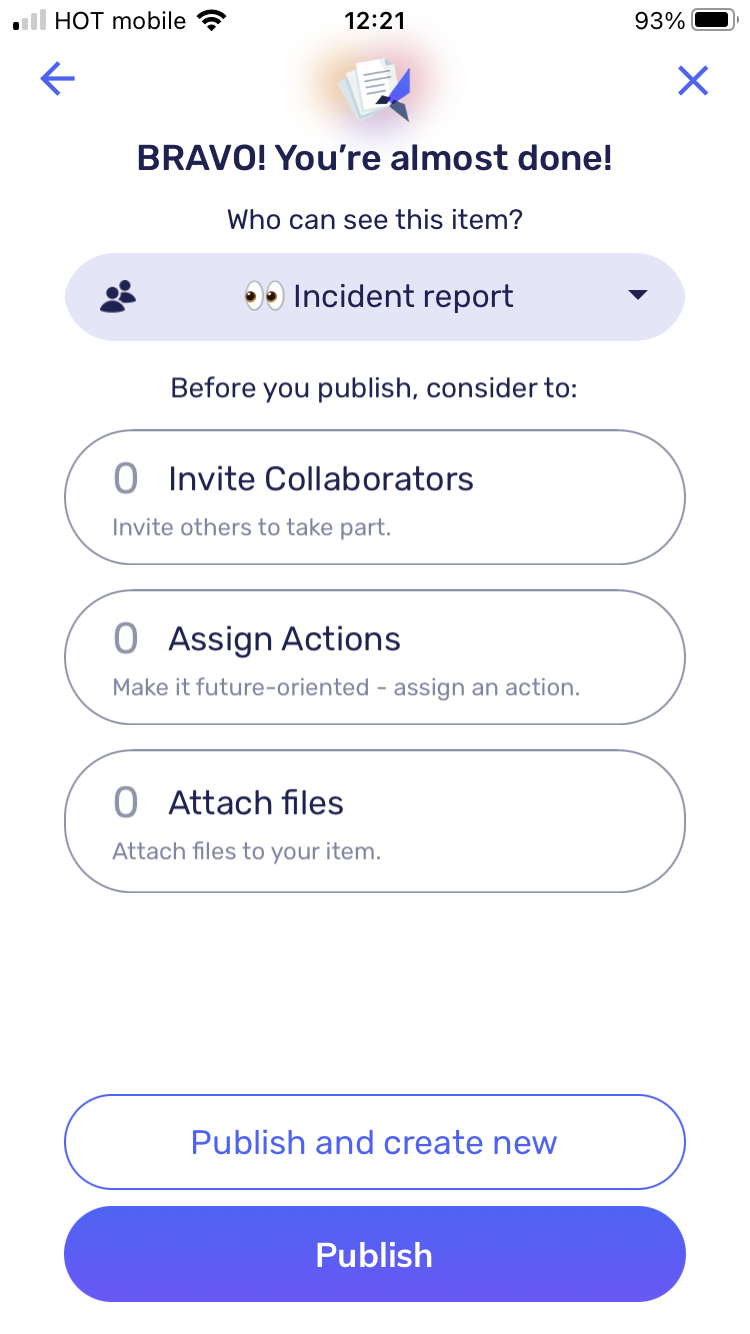
At the top, you can see and control the people with whom the item is going to be shared.

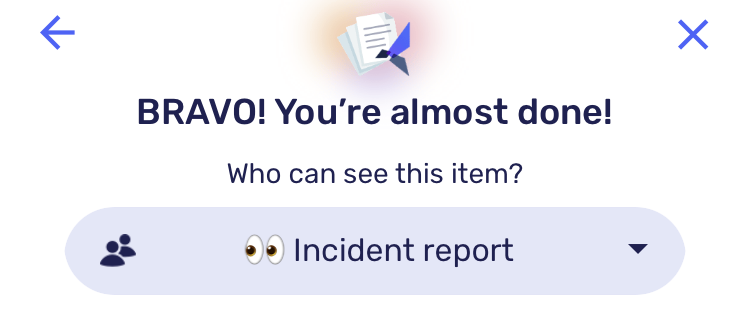
-
These people will be able to view the item (as opposed to the collaboration) and in some cases, they will be notified once it’s published (according to the notifications settings of this workspace and/or users).
-
The default share settings vary between each workspace. They can be pre-defined by the workspace’s manager/ admin. In some cases, if it was set by the admin/ manager as an automation rule, the share settings can be automatically changed based on your selections in the item. To learn more about automation rules, see our guide.
-
In most cases, you will have the option to change the share settings, by clicking on the dropdown.

You can select any of the default options available (*each workspace has its defaults, based on the manager/ admin preferences) or you can customize it:-
Me and the manager– will share the item with this workspace’s manager.
-
This workspace– will share the item with this workspace’s manager and members.
-
All company– will share the item with everyone in your company/ organization.
-
Specific users– customizable- will share the item only with the people you select.
-

-
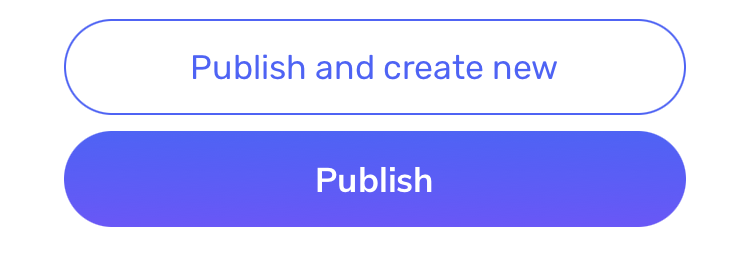
To publish (share) the item, click “Publish”.
You can also automatically create a new item by clicking on Publish and create new

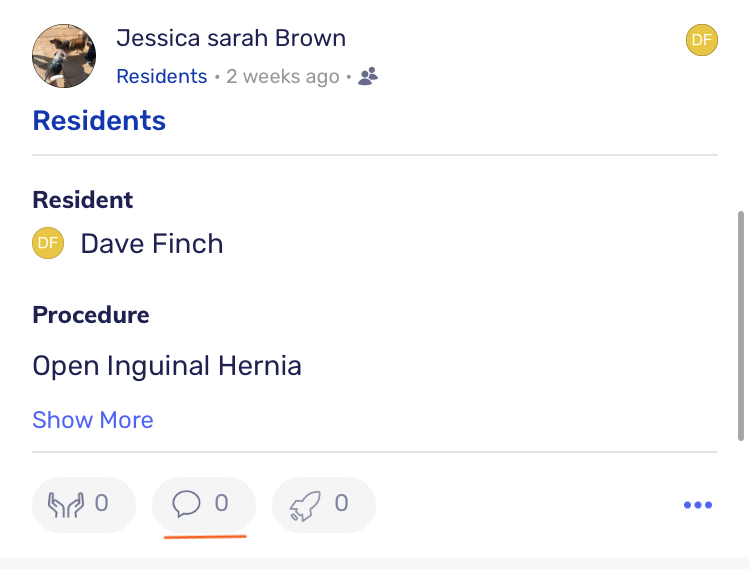
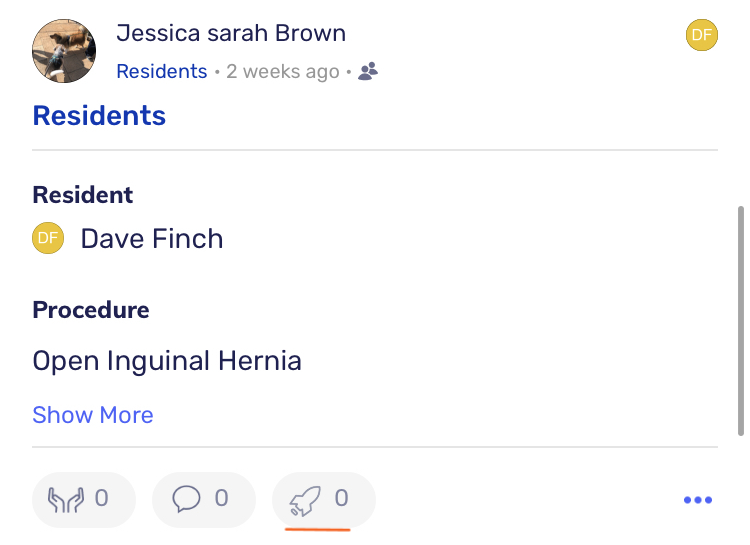
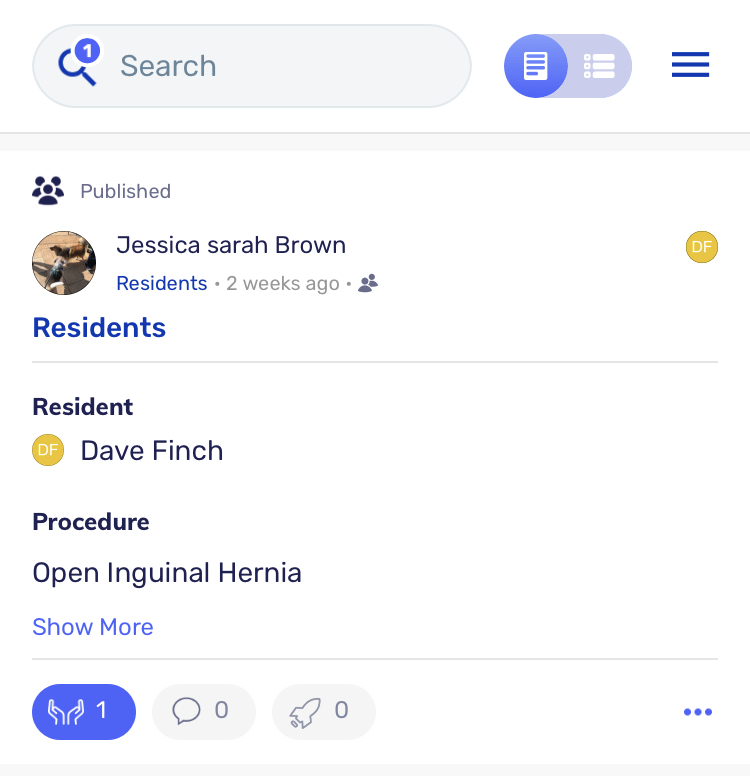
Published item
Once your item is published, you will see it on:
-
The homepage:

* To view the full item, click on it -
The email:

*Only if your/ your workspace’s email notifications are enabled


You can also:
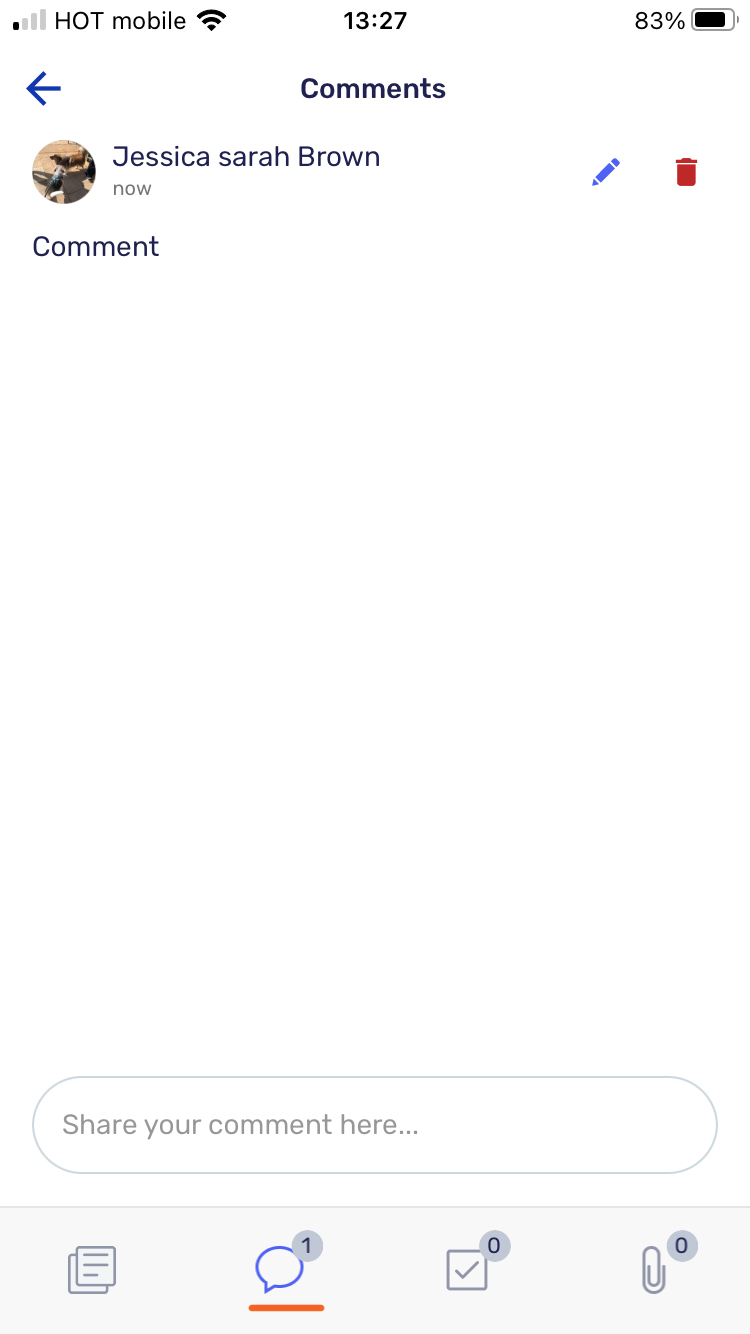
-
Comment on it


-
Add actions


-
Embrace it


-
Star it

-
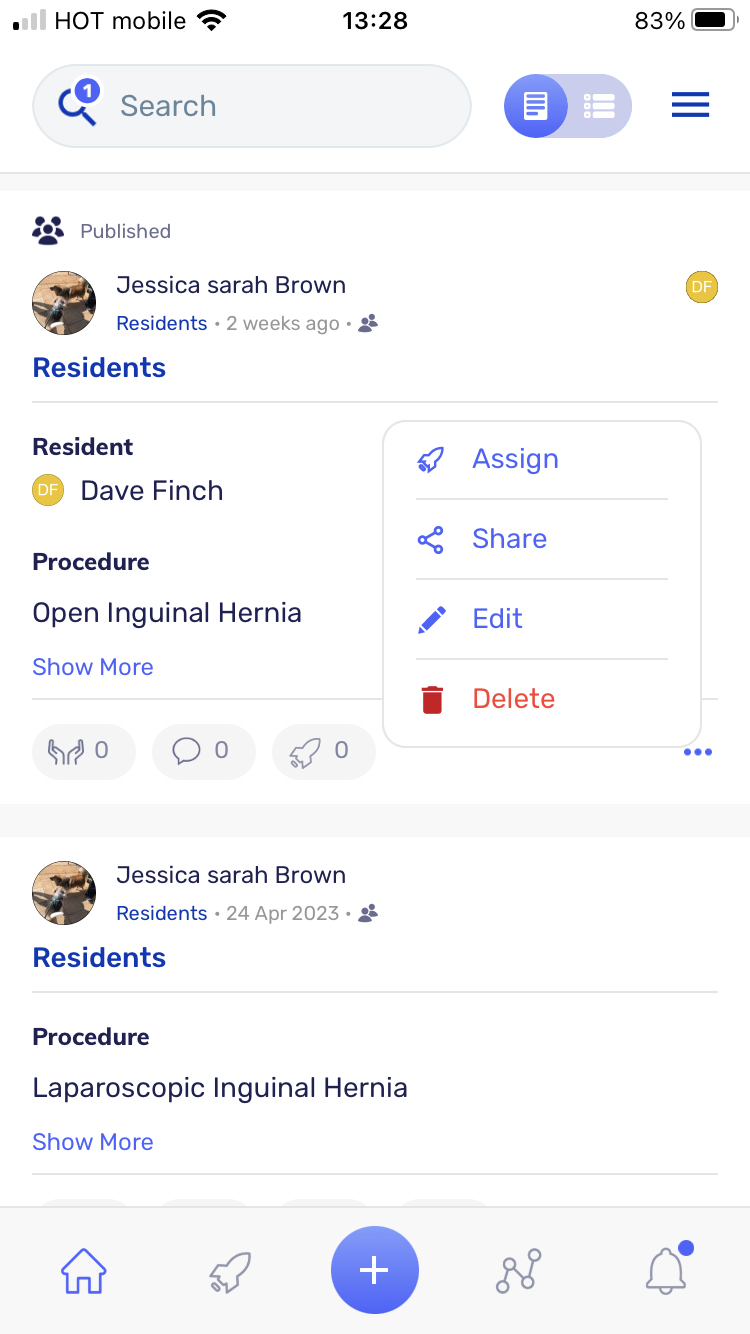
3 dots menu:

-
Assign actions
-
Share the item with other people
-
Edit the item (if you are its owner/ you have admin permissions)
-
Delete the item (if you are its owner/ you have admin permissions)
-